Recently, webinars can be created directly from MS Teams. We explain here how this works.
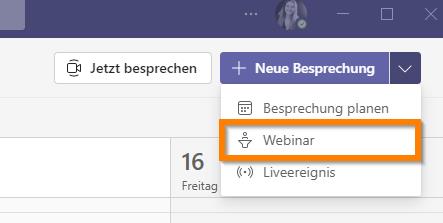
New Webinar > Open from Teams Calendar “New Meeting” submenu “Webinar”
.
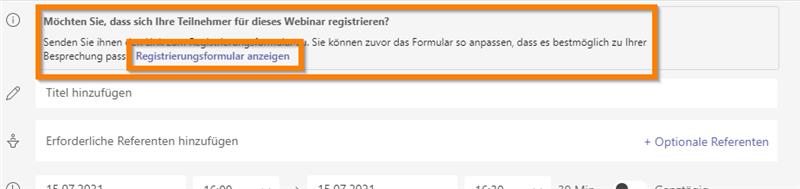
Difference in this mask: The header refers to the registration form and there is a “Need registration” item above it. This must not be set to “None”, otherwise the webinar features will not apply and you will have a normal appointment
.
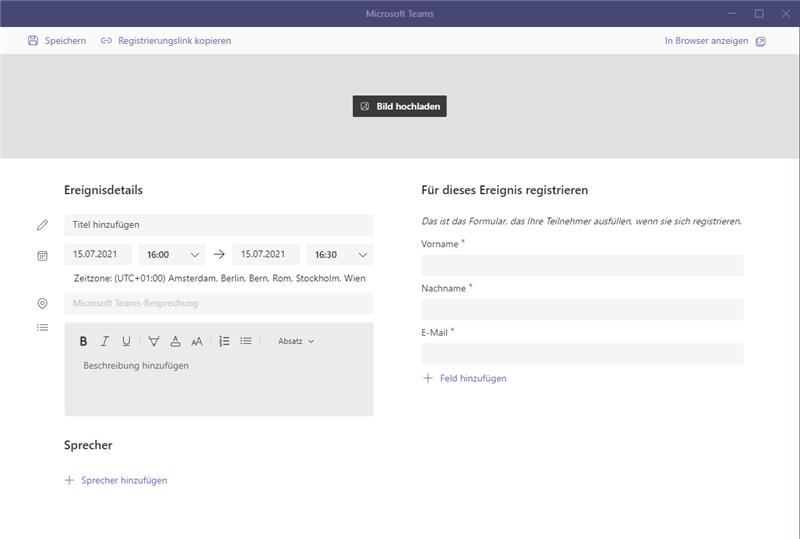
Now you can schedule the webinar in the same way as the familiar appointment screen.
It is important here that the information that is here is all visible only to the presenter and the speakers entered in this mask. The webinar participants will only see the information that is entered in the registration form. The information from the registration form is also the appointment information that the participants will see.
.
The next step is to fill out the registration form. Custom fields can be created here according to the planned webinar.
.
The link for the registration form will then be sent to the participants, who will fill it out.
The participants will then receive an email with the confirmation and the date.
.
The creator of the webinar now has the opportunity in advance of the webinar to see who has registered and what has been entered into the form. This can be done either by opening the webinar appointment from the Teams calendar under “Attendance” or by downloading the information from the appointment under “Details” in a clearly arranged Excel list Once the webinar has been started there are the following points to note regarding the meeting options:
.
Disable micro/camera of participants in the webinar without role customization via meeting options
Difference: in normal meetings you can set this beforehand in the options – here then in the appointment spontaneously for all
The meeting chat is active by default only for the duration of the appointment
Absence list: Sum of participants and individual representation of who has registered
Important: before break out rooms again allow all mics, otherwise you have to activate this individually per participant
Waiting area: caller can always bypass the waiting area
.
You can now use this to start your created webinar at the time you set.
Greetings
Jan