How to record yourself with Teams and Powerpoint
You want to create videos quickly and easily by recording yourself on Teams? I’ll show you how to record yourself on Teams and Powerpoint.
Prepare Teams and Powerpoint
- Start Teams and select “Calendar” on the menu bar.
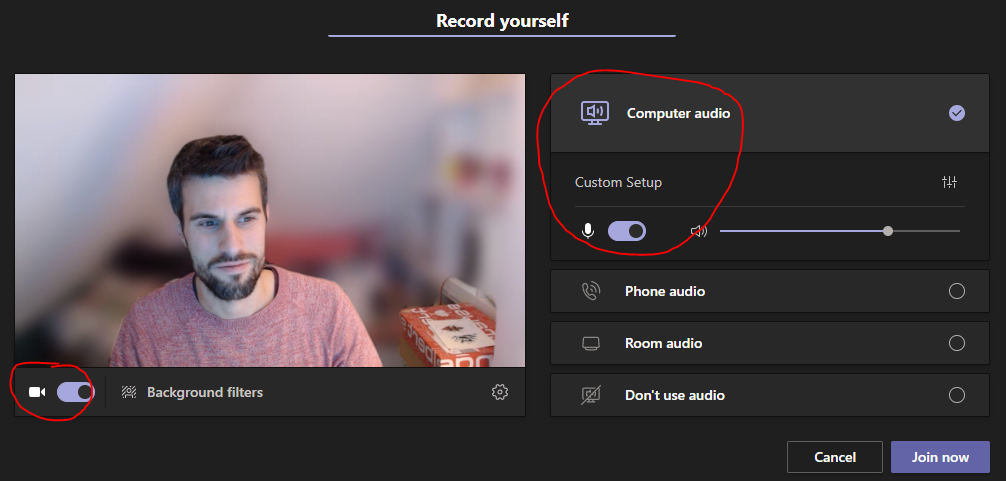
- Select the “meet now” button in the top right corner. Do not forget to turn on the microphone and camera.

- Check your device settings and go on by selecting “join now”
- If it works correctly you now see yourself and could actually start to record. But first you need Powerpoint to create the video. Start Powerpoint with a new file.
Then go to the tab “Insert” and there to the button “Screen recording“.

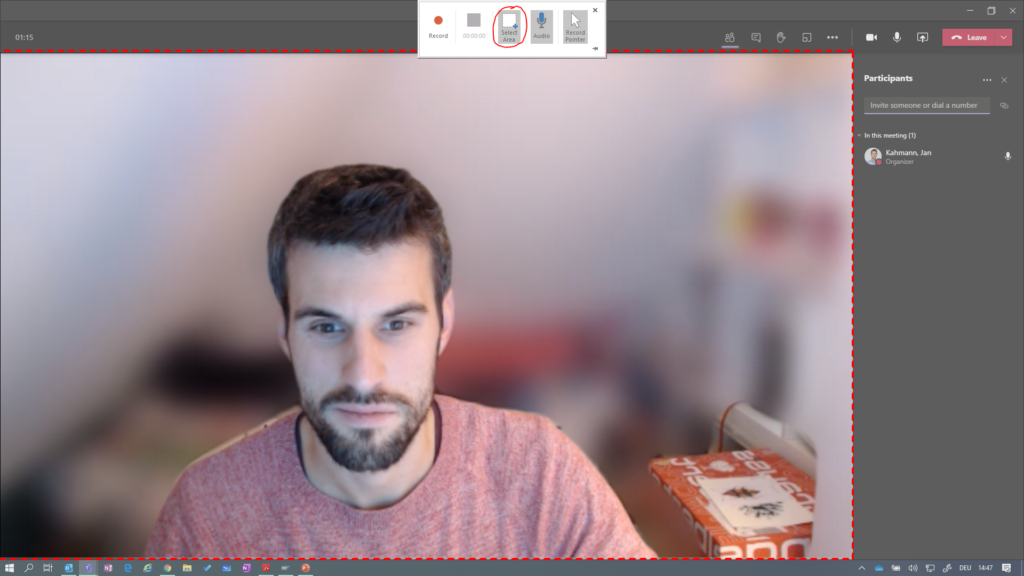
- If you previously had opened your Teams, you now see yourself slightly grayed out and with a toolbar at the top of the screen.
If the wrong window is open, use the mouse or alt + tab to navigate to your opened Teams application. - Now select the button “Select area” in the toolbar at the top of the screen. This will mark the part of your screen that should be recorded in the video.
- Select the button “Audio” for the sound to activate it. Important: you only record the sound of your microphone, you can’t record the sound of your loudspeakers or other sound coming from your telco.
Start your own record
- As soon as you click on “Record” at the top of the page, a countdown – 3..2..1 – will appear and the recording will start.
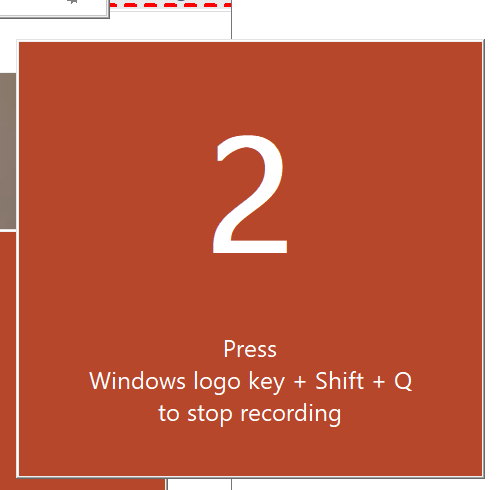
- When you are done with the video, go to the top of the screen to show the toolbar again and stop the recording here.
The video will now be embedded into Powerpoint.
Cut and save 🙂
- Right-click on the video to shorten it in Powerpoint if necessary.
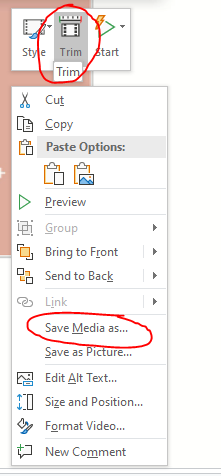
- When you’re done editing, go to the right-click menu again and select “Save Media As…” to save your video separately on your hard drive or OneDrive.
Done! 🙂
Best regards,
Jan